How to make a block print (Part 1)
Have you ever wanted to make a block print? Here’s how! Read on to learn how I carve my blocks for printmaking. Check back next week for How to Make a Linocut Print Part 2: Printing.

Materials:
Speedball Speedy-Carve block, size 4×6″
Hard Rubber Brayer
Pencil & Paper
Adobe Illustrator or Procreate (optional)
Speedball Linoleum Cutter & Assorted Attachments

Sketch your design
First, you’ll sketch out your design. I usually work at thumbnail size and draw out a few options. Once you’ve settled on a design, measure a 4×6 rectangle on a sheet of paper. You can do this quickly by tracing your 4×6″ block. Use a pencil to sketch out your design in the rectangle you drew. After I sketch my design out, I usually scan the drawing and fine-tune it in Adobe Illustrator or Procreate. If you don’t have either of these tools, don’t worry, this part is optional.
Transfer your design
If you do design your print on the computer, you’ll need to print it out. If you sketched it by hand, you’re ready to go!
Now you will transfer your pencil sketch to the rubber block. Carefully lay your rubber block over your sketch so the edges align. Use your hard rubber brayer (or your fingers) to press down on the rubber block so the graphite from the pencil transfers from the paper onto the block. Lift up the block and use your pencil to touch up any areas where the graphite did not transfer.

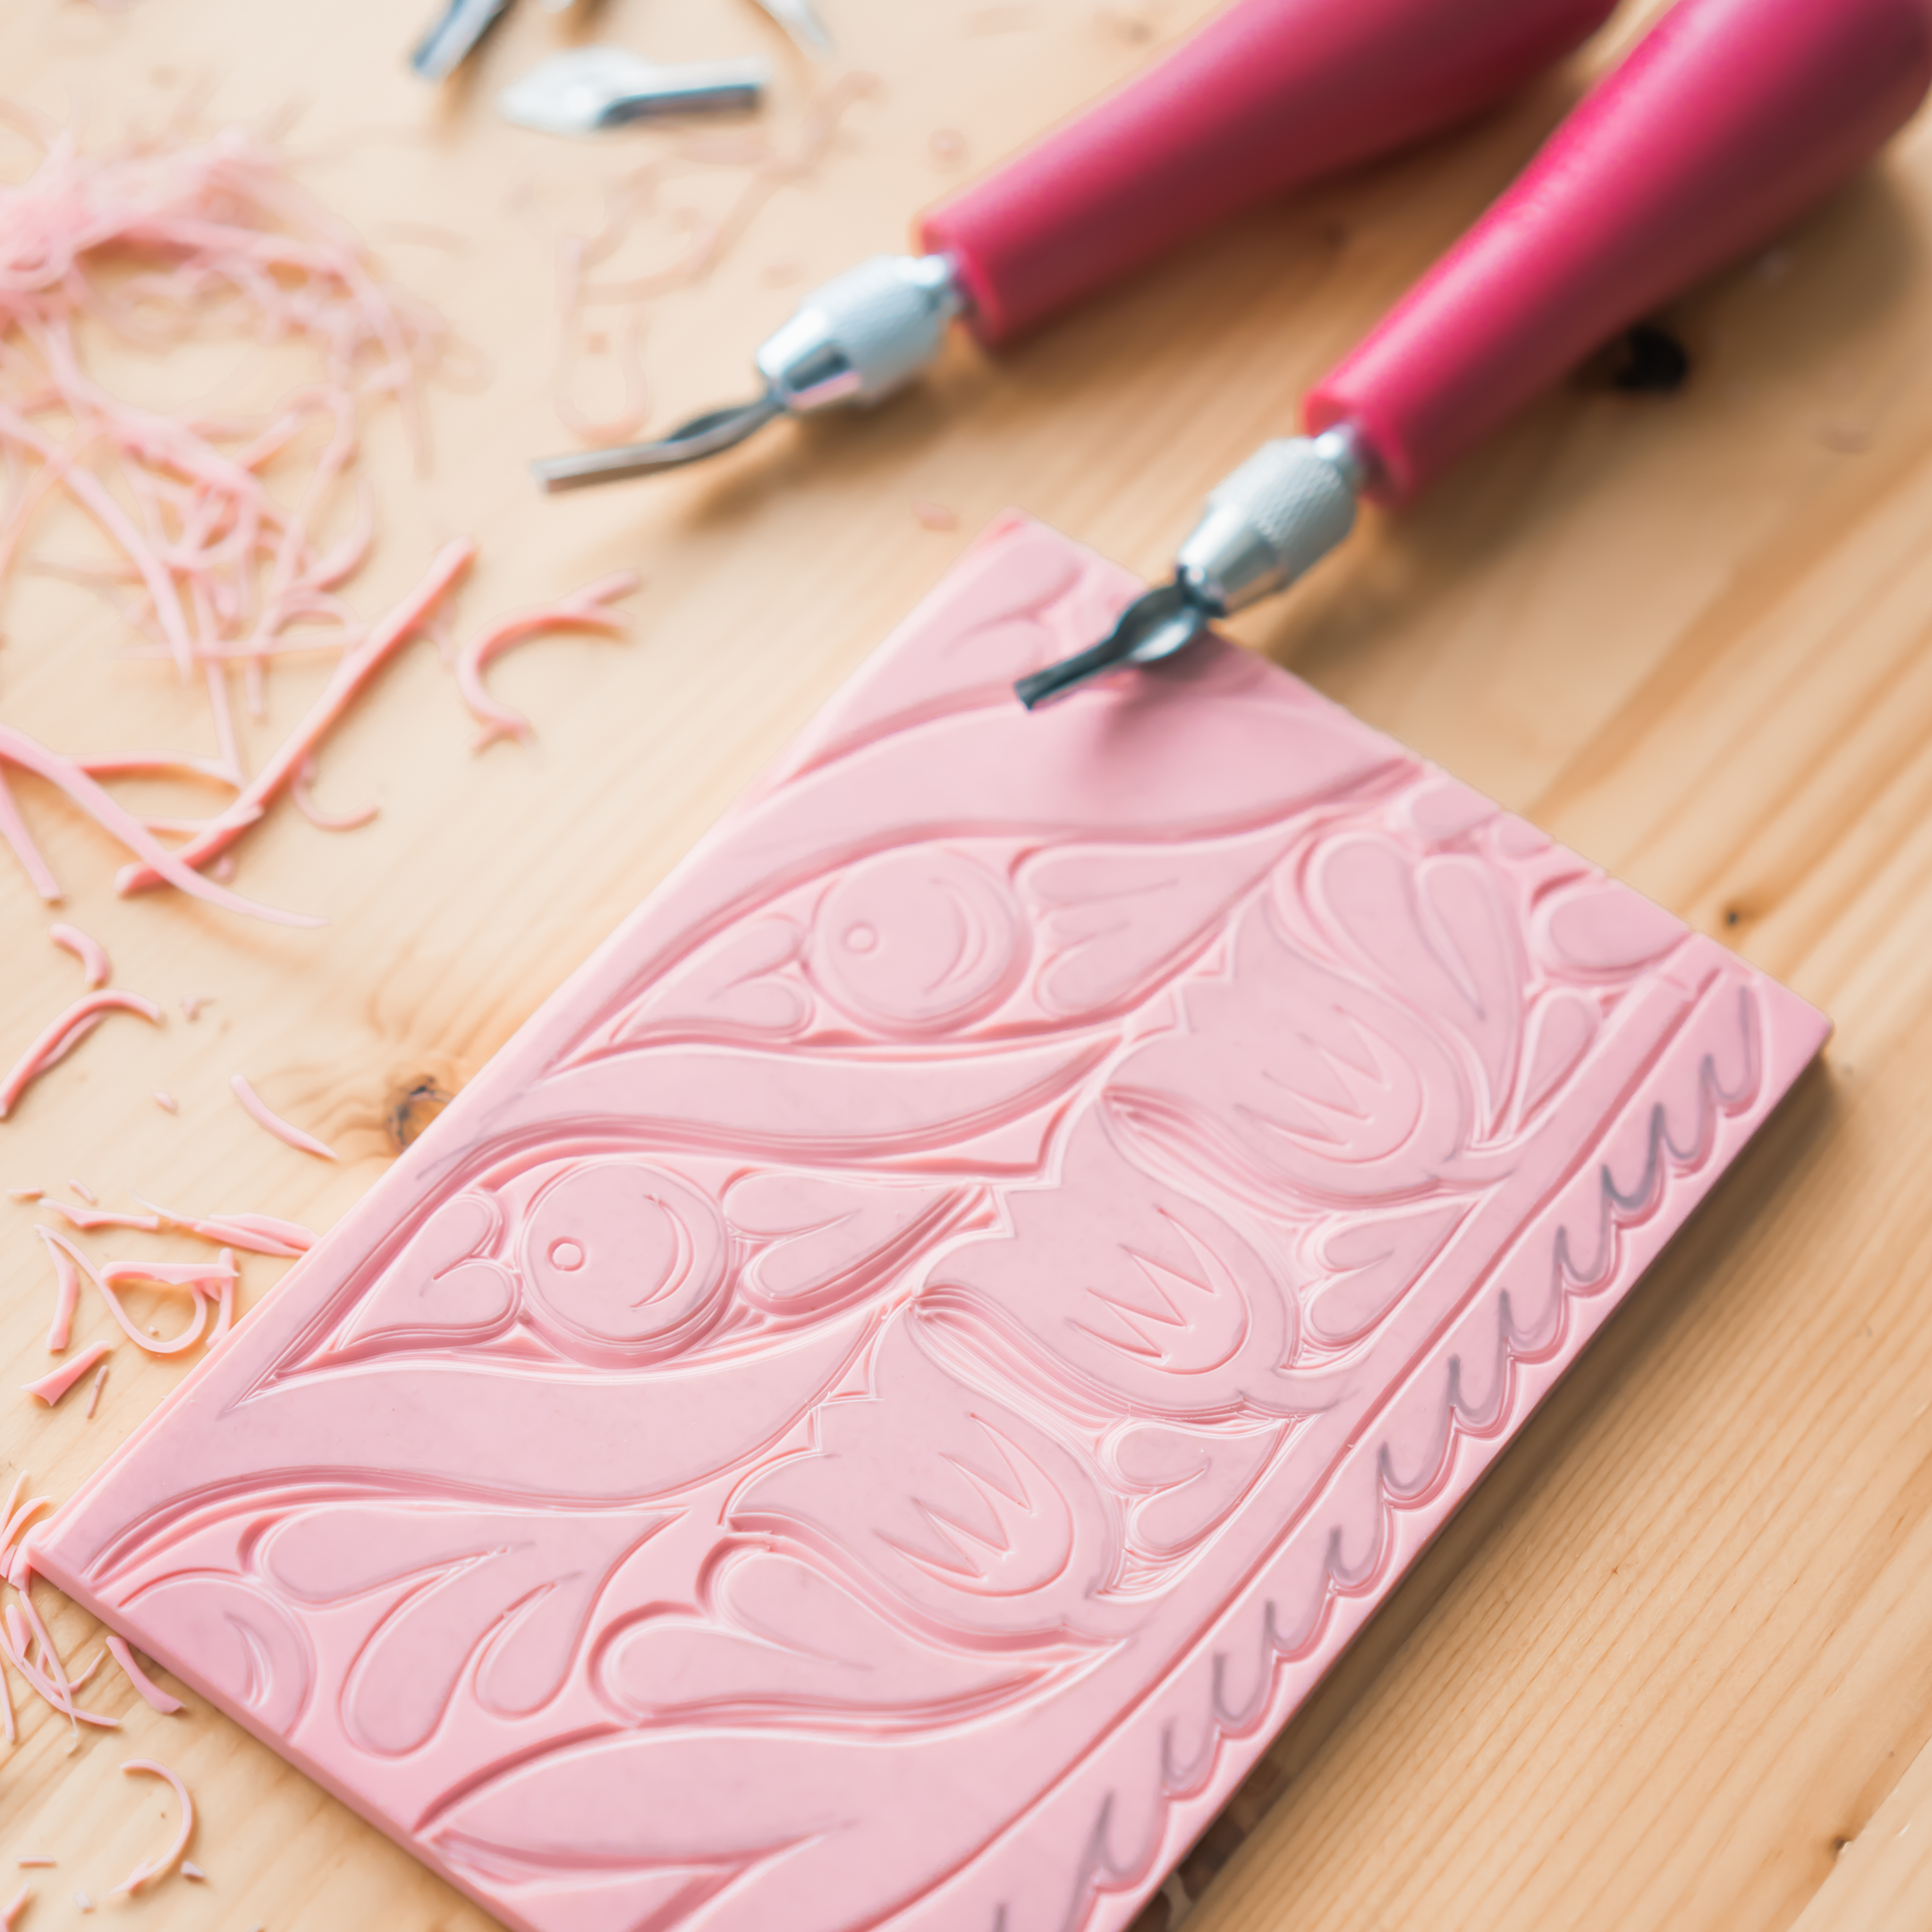
Carve your block
Now use your linoleum cutter to carve your design out of the block. I like to outline my design using the smallest carving gauge (#1) and then use a size #2 or #3 to remove larger areas.
A few tips: Use the tool in a pushing (not pulling motion) for best results. Also, turn the block, not your hand when making a curved line.
Keep going until your design is carved. Then read the next post for instructions on printing your design.
Thanks for reading!
If you enjoyed this tutorial, sign up for my newsletter to receive more tutorials and studio updates in your inbox.