How to Make a Block Print (Part 2)
Below you will find instructions for making prints with your hand-carved rubber block. For instructions on how to carve a linocut block, see my previous post: How to Make a Block Print (Part 1).
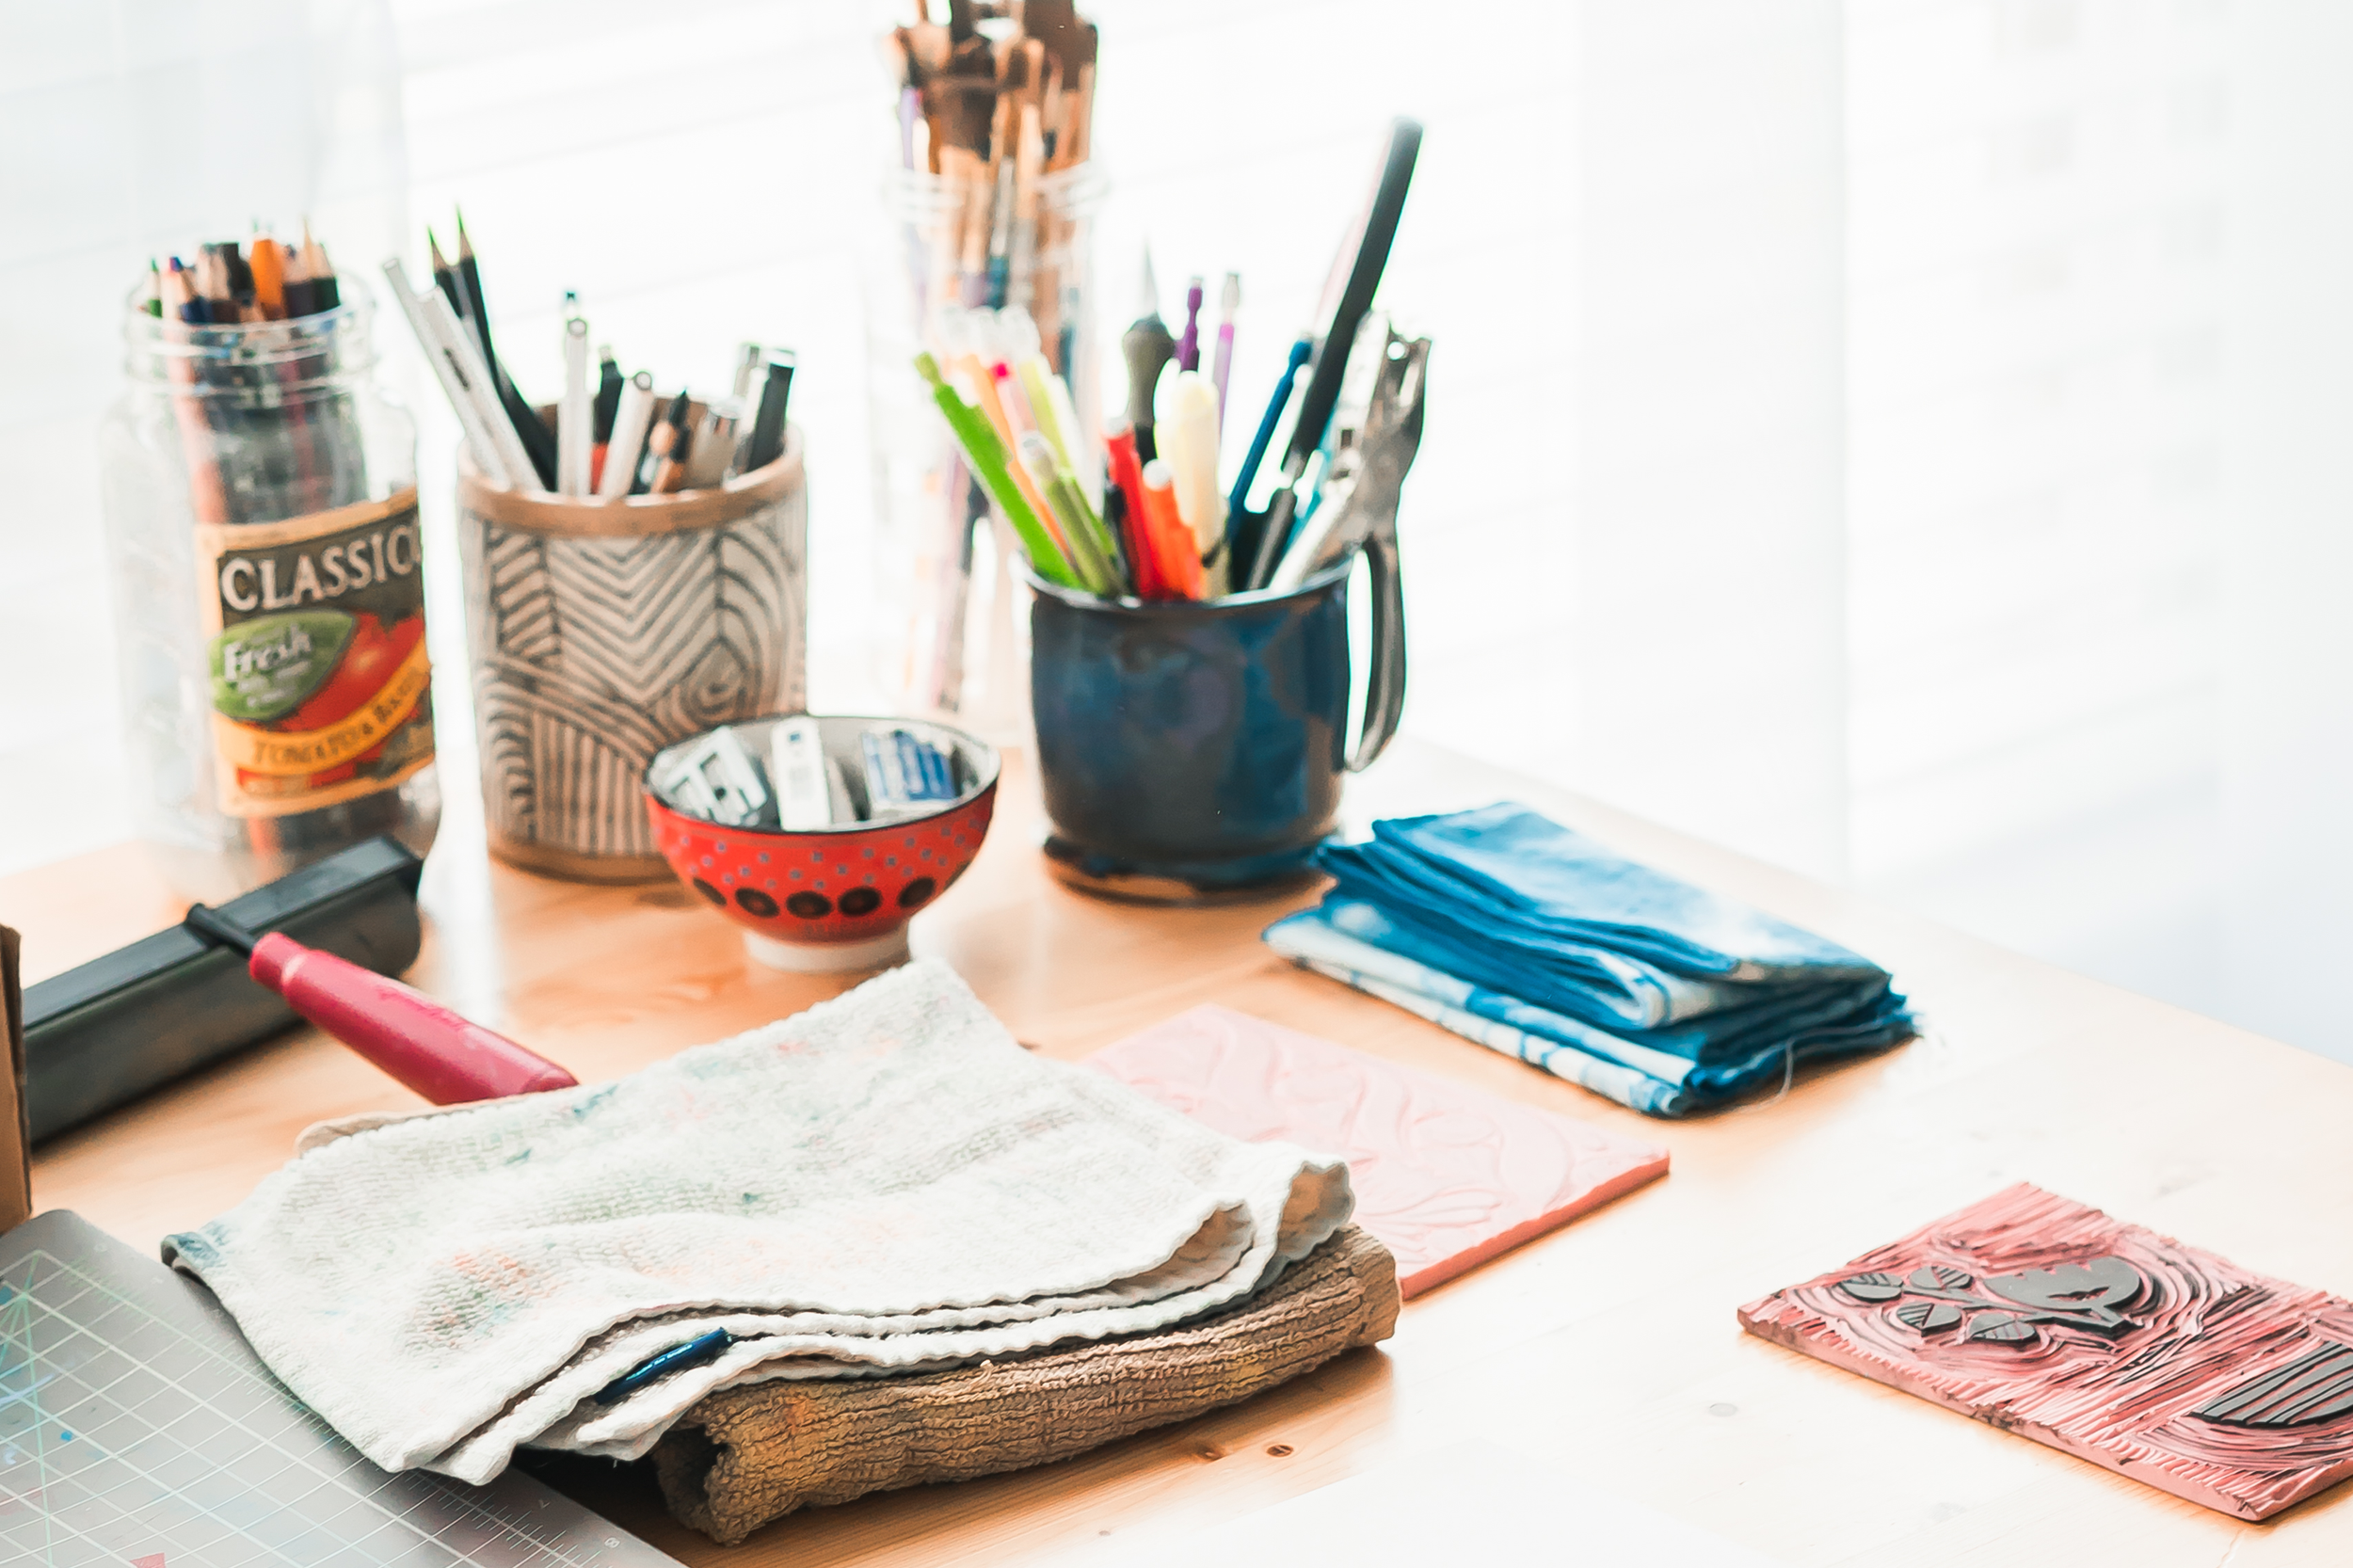
Materials:
Your hand-carved rubber block
Block Printing Ink (I use Speedball brand)
Soft Rubber Brayer
Hard Rubber Brayer (Optional)
Ink Tray or Cookie Sheet
Printmaking Paper (I use 9×12″ for a 4×6″ block)
Metal Ruler
Pencil
If you’re just getting started, Speedball makes a Printmaking Starter Kit that has everything you need!

Measure your paper
First, you’ll want to make sure your print is centered. To do this, I measure my paper (8x10” in this case) and measure my block (4x6”). Then, subtract the block measurements from the paper measurements and divide by two. So, in this case, there will be two inches on top and bottom of the print and two inches on either side.
Lay down your block on your cutting mat and use the grid to measure out two inches on all four sides of your block. Tape down your measurements with masking tape—this will help you center your print later.
Ink your block
Next, squeeze a small amount of paint onto your ink tray and roll it out with the soft rubber brayer. Use the brayer to apply a thin sheet of paint to your block.

Align your paper
Lay down your paper carefully over the block. Make sure the corners of your paper align with your taped-down guide.

Transfer your print
Apply pressure to all areas of the block to ensure the paint is transferred. You can do this with a hard rubber brayer, the back of a spoon, or just use your hands.
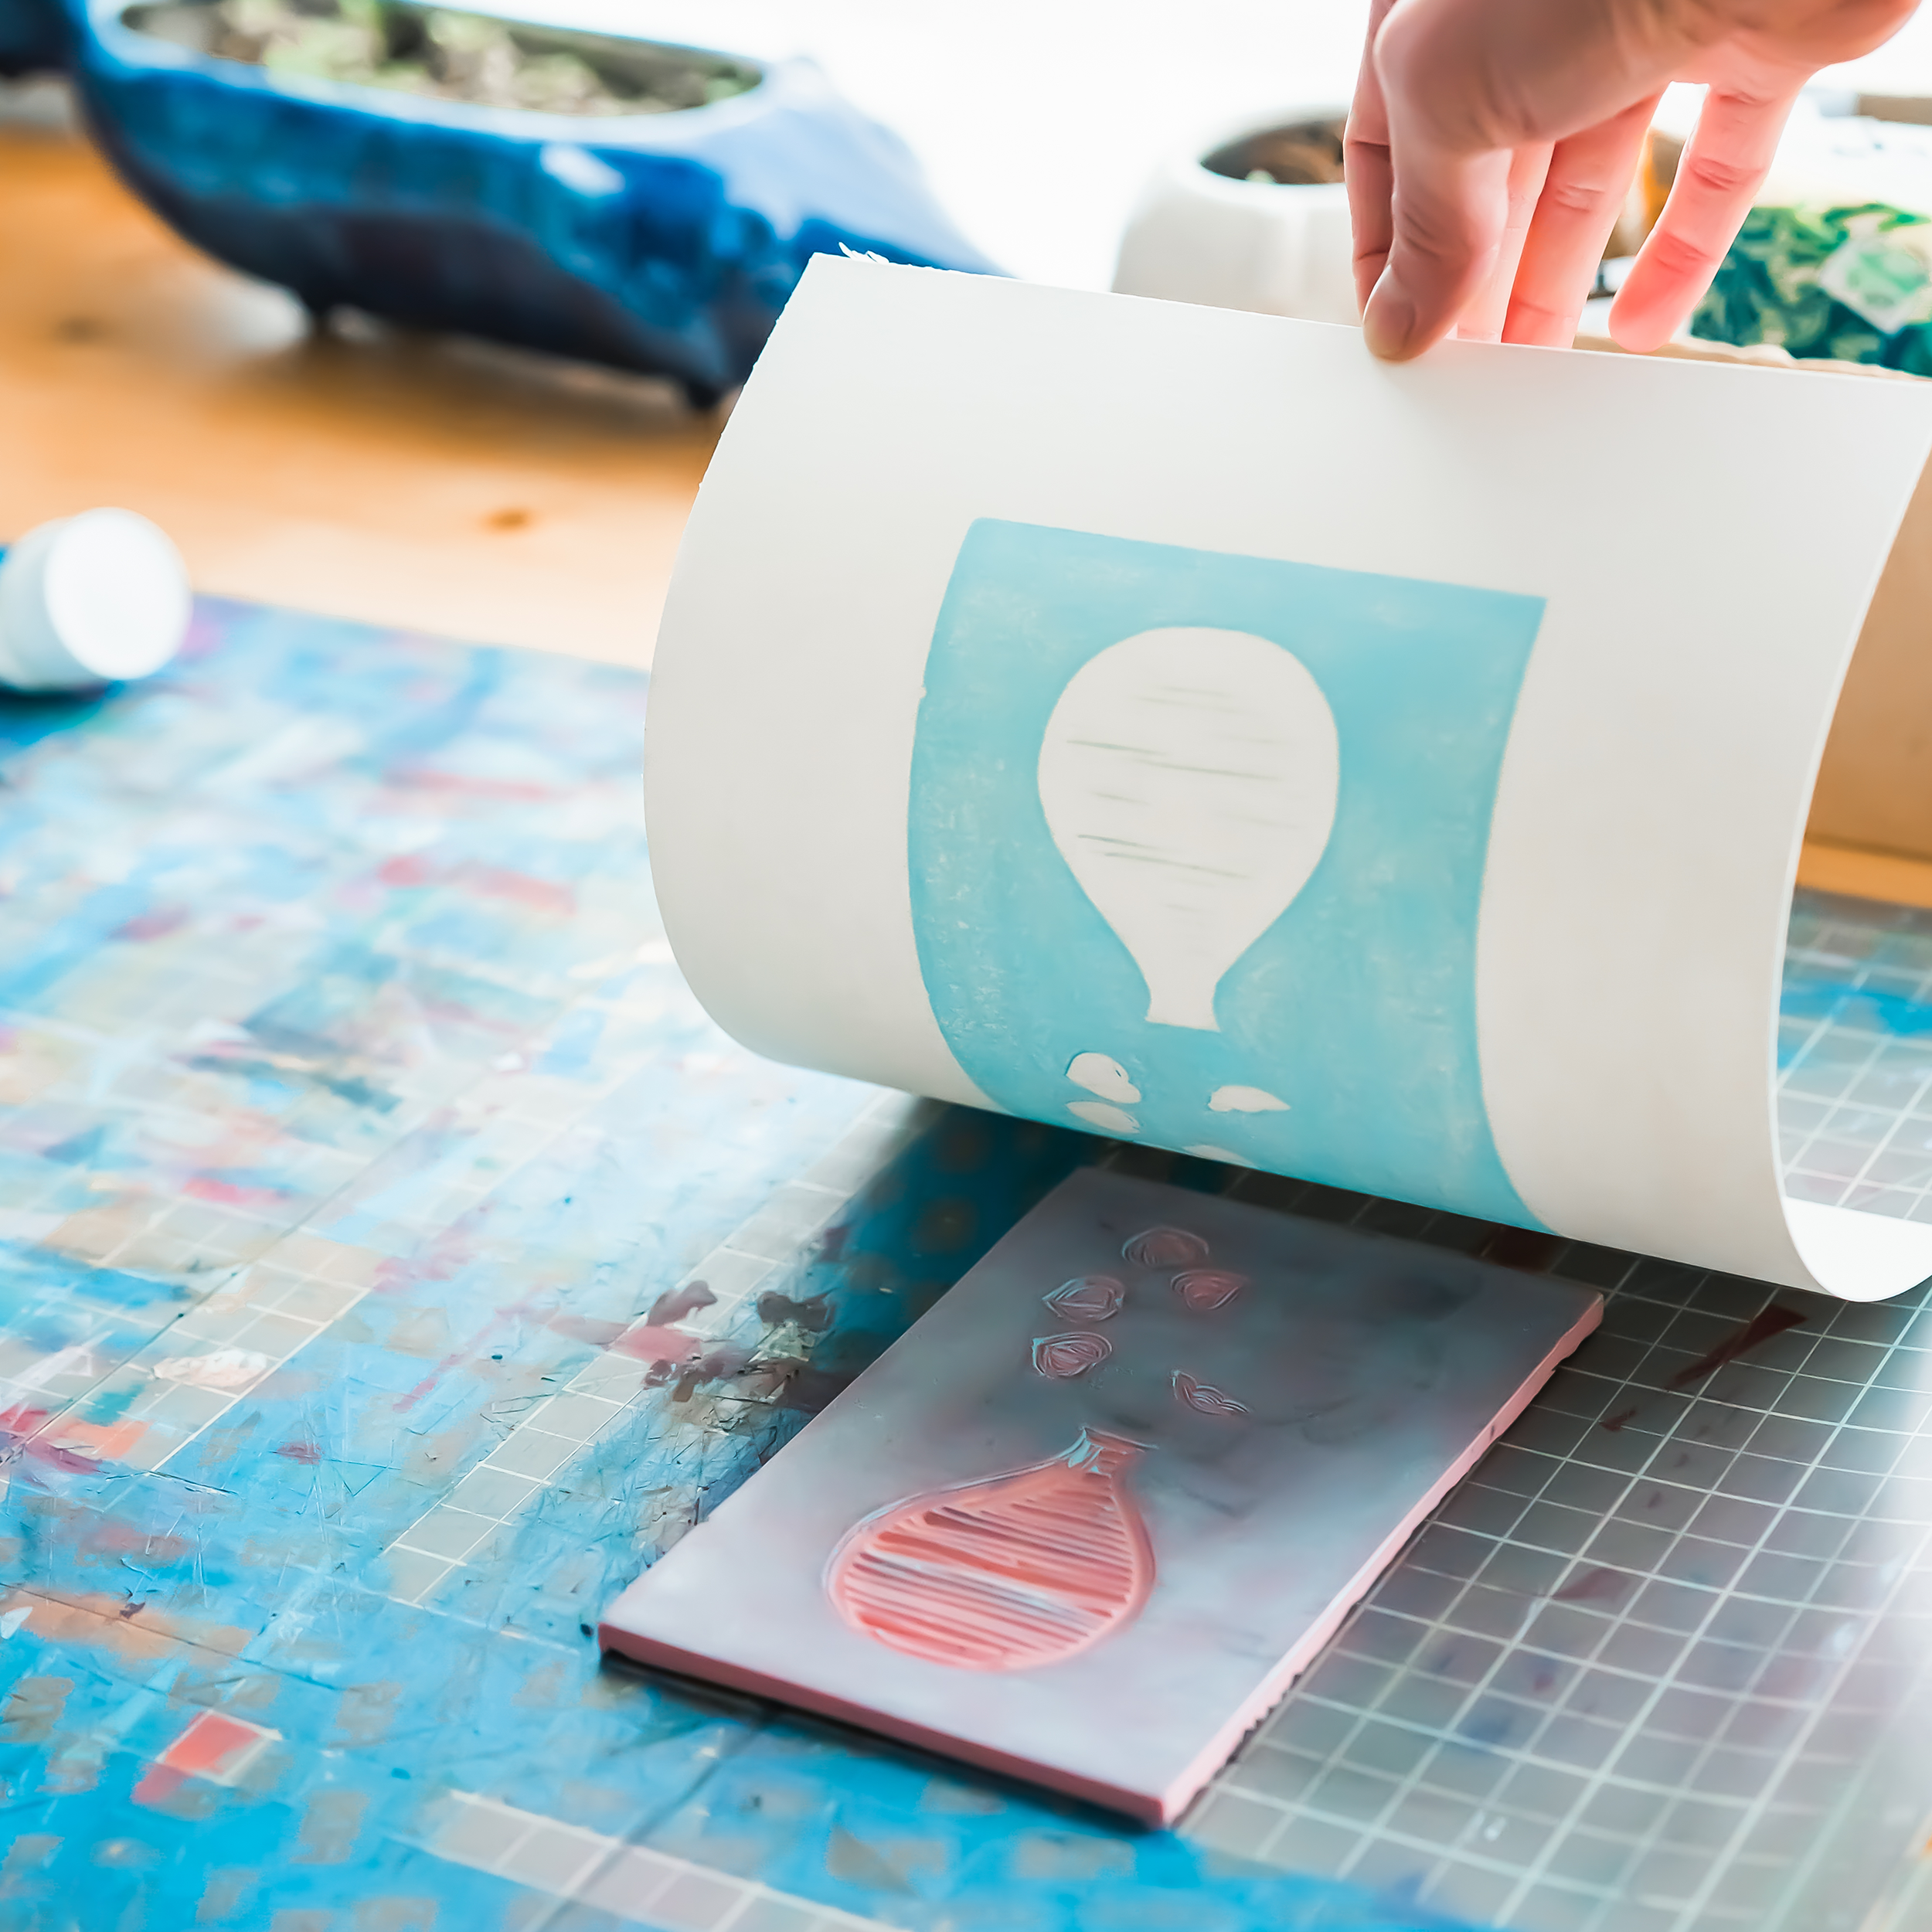
Lift up your paper
Carefully lift up your block and enjoy your new one-of-a-kind print!
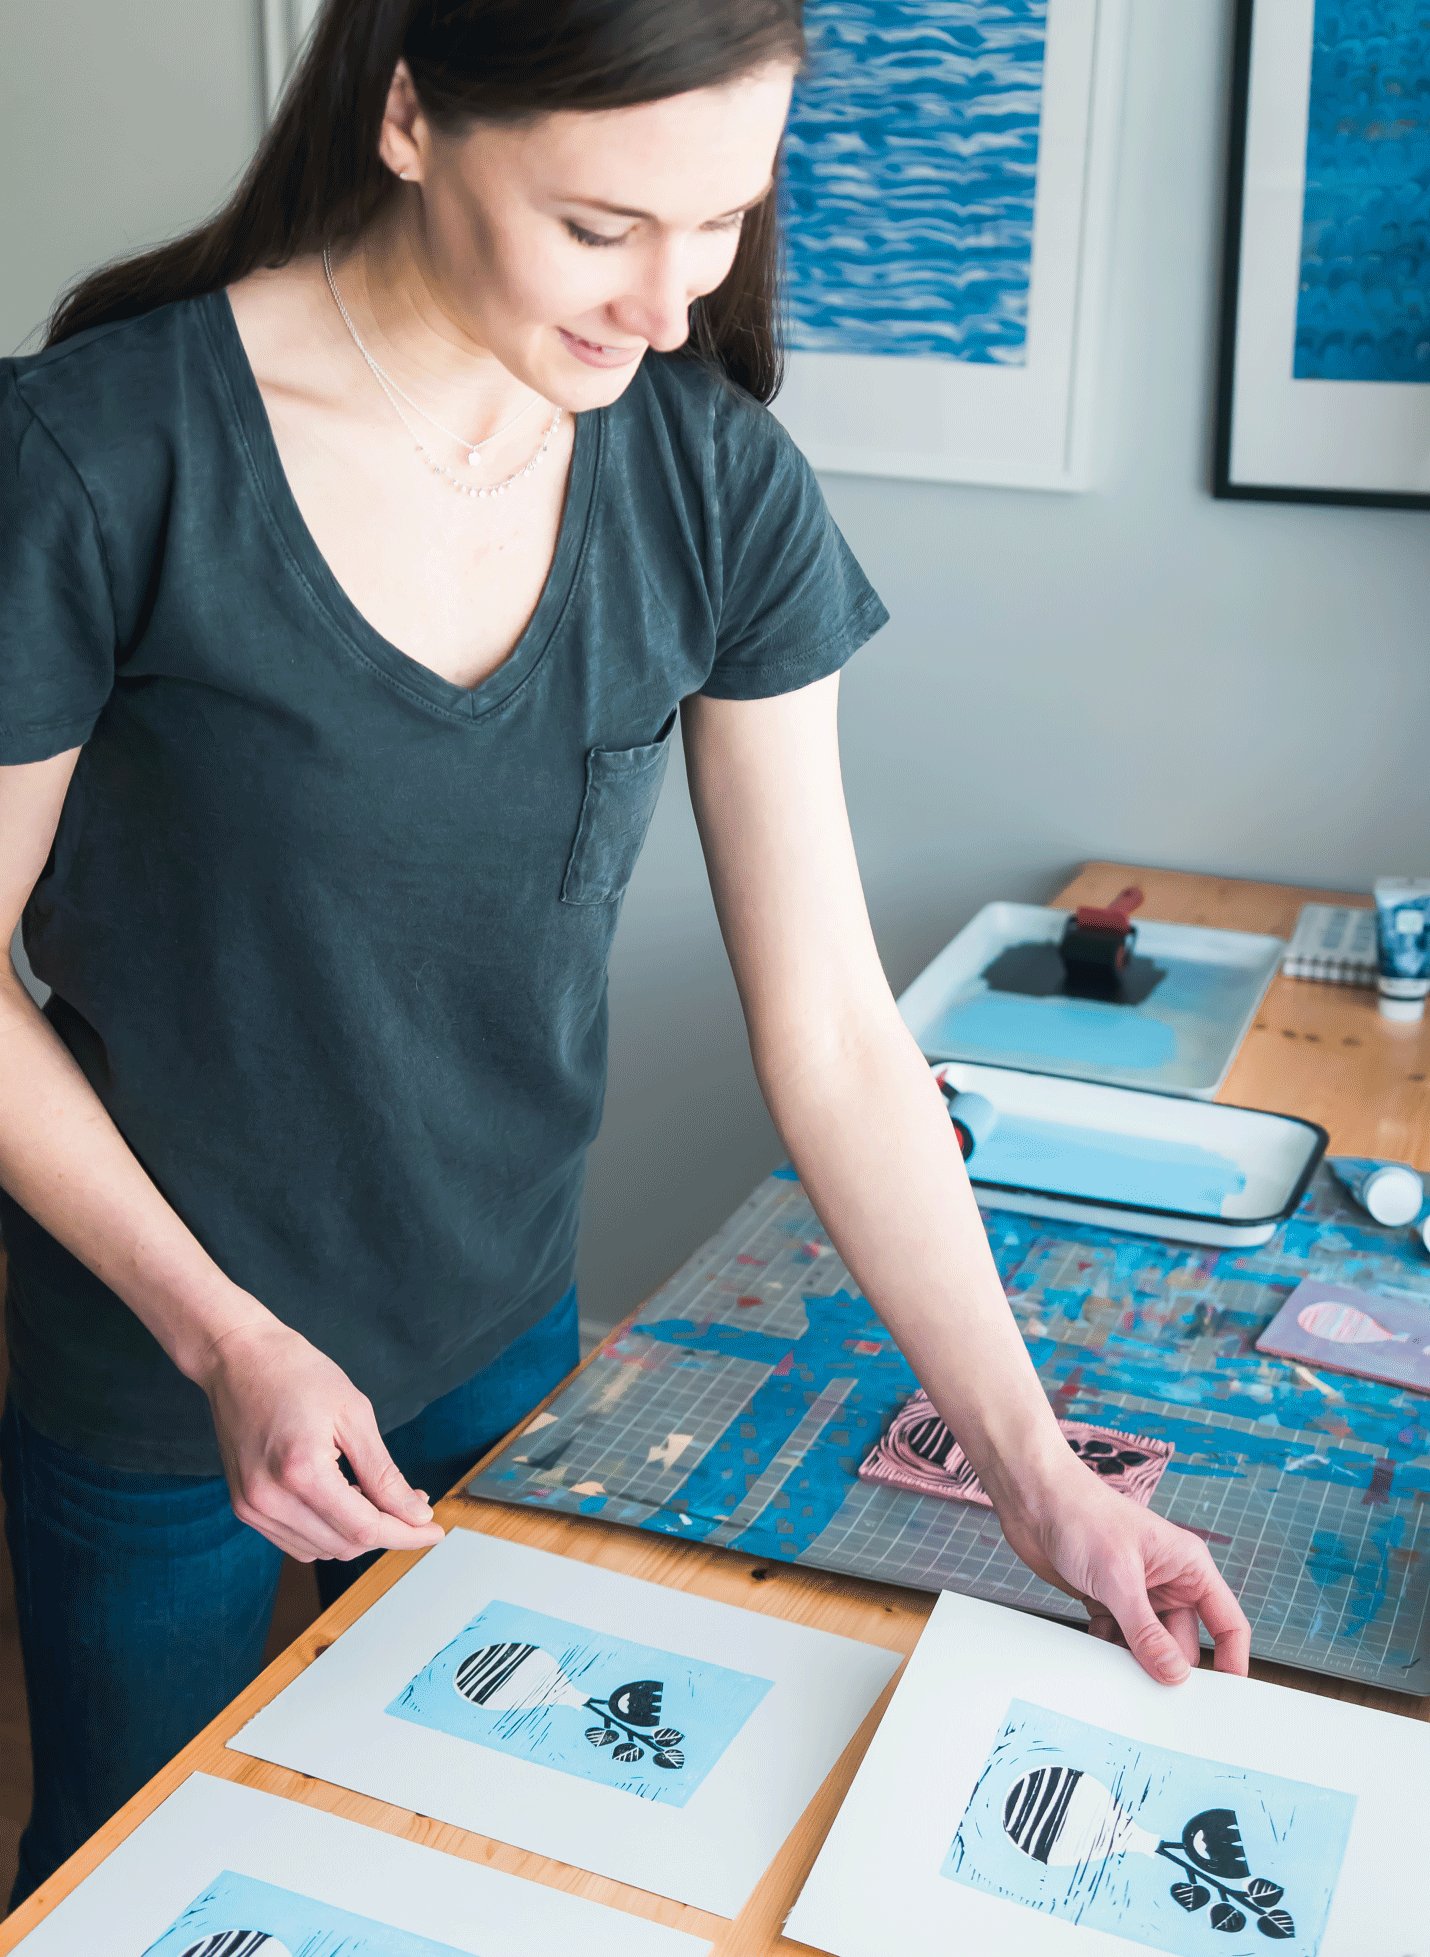
Admire your print!
Don’t forget to sign your work! You can also number your prints if you are doing a limited edition.
*Also, don’t be discouraged if your first few prints don’t come out perfectly. There’s lots of trial and error in this process. I’ll often have prints that are misaligned or use too little or too much ink, and they come out wonky. It gets much easier with practice!
Thanks for reading!
If you enjoyed this tutorial, sign up for my newsletter to receive more tutorials and studio updates in your inbox.